Understanding Heat Press Pressure Settings
Date Posted:22 May 2025
 When using a heat press for heat transfer vinyl (HTV) and dye sublimation prints, getting the right pressure is just as important as setting the correct temperature and time. If the pressure is too low, the transfer may not apply properly, leading to peeling, fading, or blurry images. Too much pressure can cause distortions, scorch marks, or damage to your materials. This guide will help you understand how to determine low, medium, and high pressure on a manually adjusted heat press.
Why is Pressure Important?
Pressure ensures even heat distribution and proper application of heat transfer materials like heat transfer vinyl (HTV) and dye sublimation prints. Depending on the type of material and transfer you are using, different levels of pressure are required:
- Low Pressure – Used for delicate fabrics, sublimation on hard surfaces, or lightweight transfers.
- Medium Pressure – Common for most heat transfer vinyl (HTV) and standard sublimation prints.
- High/Heavy Pressure – Necessary for thick materials like neoprene, leather, and certain specialty transfers.
How to Measure Pressure on a Manually Adjusted Heat Press
Most manually adjusted heat presses do not have a built-in pressure gauge, so you’ll need to rely on feel and a few simple tests. Here’s how you can determine the right setting:
 Step 1: Start at a Loose Setting (Low Pressure)
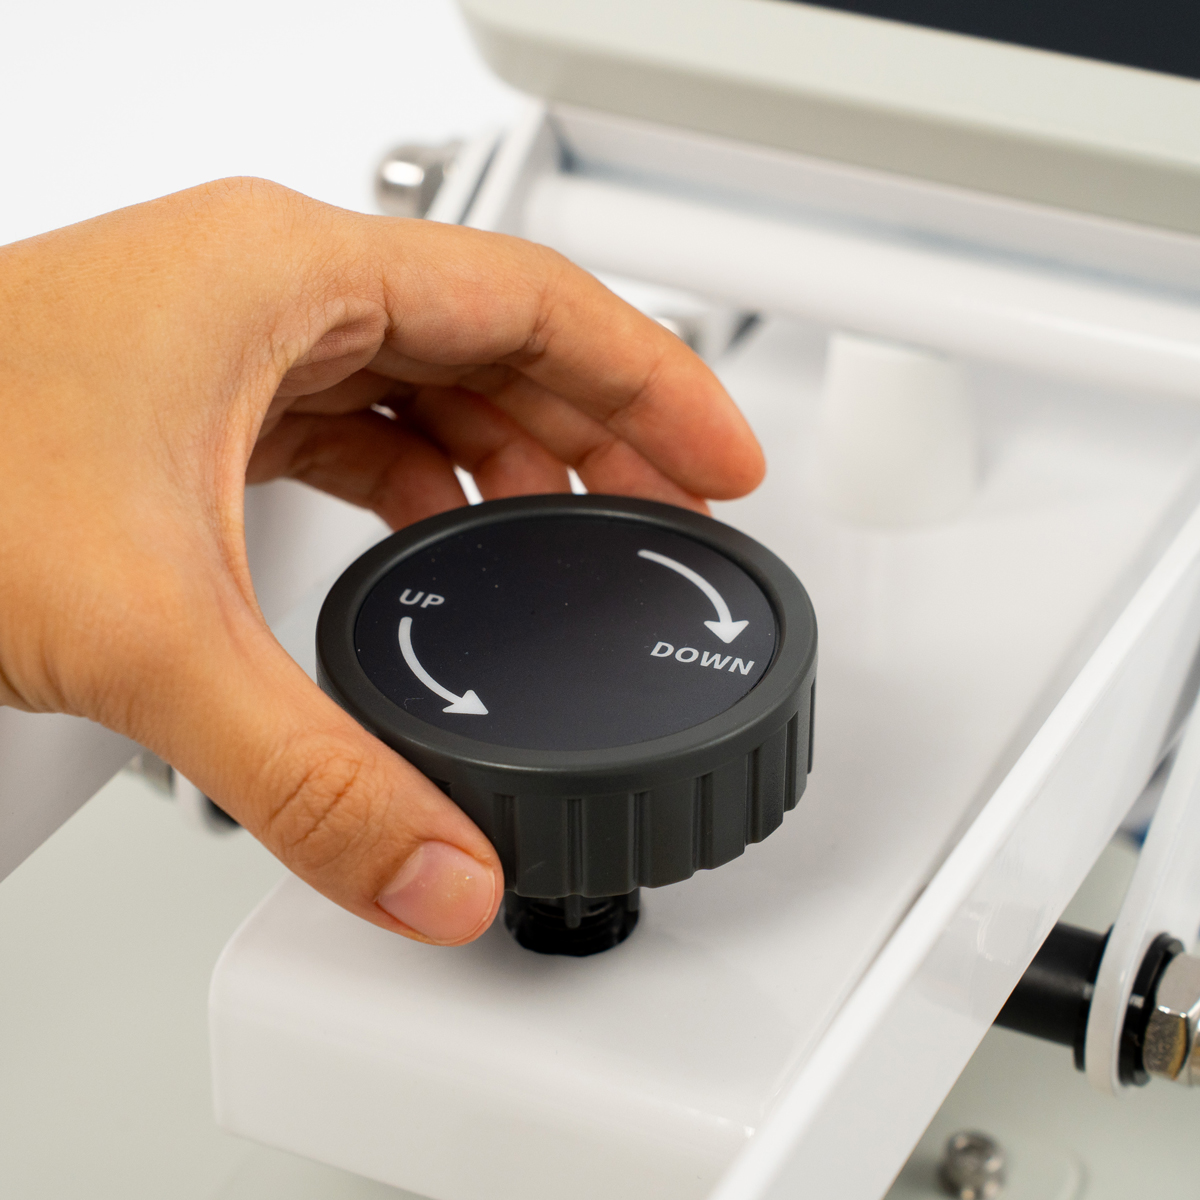
- Turn the pressure adjustment dial counterclockwise to loosen it. Please note: We recommend checking your user manual for specific instructions on adjusting the pressure dial as it may differ.
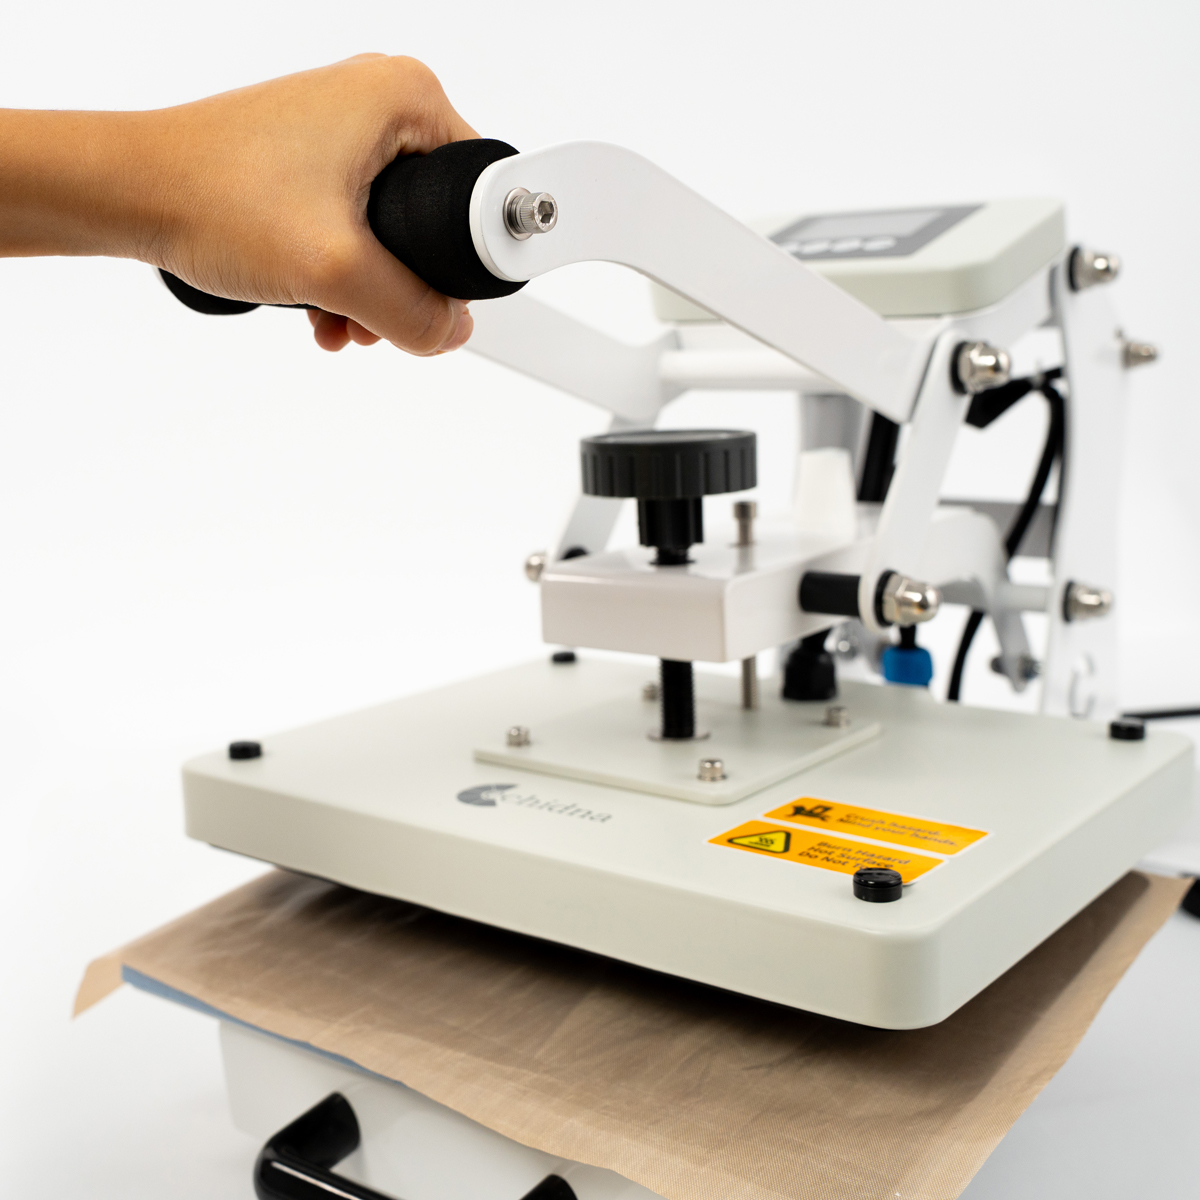
- Close the press with minimal resistance. If it shuts easily with one hand and little effort, this is low pressure.
Step 2: Increase for Medium Pressure
- Gradually turn the dial clockwise to add more pressure.
- Close the press again—there should be slight resistance when pushing down, but it should still be manageable with one hand.
- This is typically the right setting for HTV and standard transfers.
Step 3: Set for High/Heavy Pressure
- Continue turning the dial clockwise for higher pressure.
- Closing the press should require significant effort, often needing two hands.
- This is ideal for thicker materials or applications requiring a firm transfer.
Testing Pressure with the Paper Method
 A simple way to test your pressure on thin items is by using standard printer paper:
- Place a sheet of paper inside the press, leaving a portion of it hanging out for access.
- Close the press and try to pull the paper out.
- If it slides out easily, you have low pressure.
- If it offers some resistance but can still be removed, it’s medium pressure.
- If it’s firmly held and cannot be pulled out, you have high pressure.
Tips for Achieving the Best Results
- Always check your transfer material's recommended pressure settings.
View our HTV Applications & Pressing Times Guide →
View our Dye-Sub Heat Press Guide → - Adjust pressure slightly for different fabric thicknesses.
- For multi-layer HTV designs, use medium pressure to prevent imprinting or distorting previous layers.
- Regularly test your pressure settings to ensure consistent results.
By understanding and properly adjusting your heat press pressure, you can improve the durability and quality of your transfers, ensuring professional results every time.