Introducing Brother My Connection

Unlocking the Creative Connection with Brother
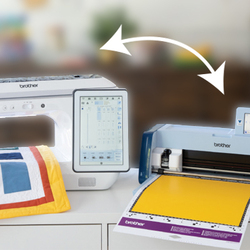
Brother My Connection is a great way to enhance your creativity and productivity with your machines. With this fantastic feature, both your embroidery and cutting project library will become endless! You'll have the ability to easily transform cutting designs into embroidery designs, vice versa, and so much more.
What is My Connection?
My Connection is a new feature available on select wireless enabled machines, which allows you to link a cutting machine and embroidery machine in order to send data back and forth between the two machines. This connection allows you to:
- Send built-in shapes and designs from your ScanNCut to your embroidery machine for use in My Design Center.
- Transform your embroidery files (built-in or imported) into applique files without needing to edit the stitch settings manually.
- Send embroidery pattern shapes from your embroidery machine to your ScanNCut for cutting/drawing.
What machines are compatible with My Connection?
Compatible embroidery machines:
- Luminaire XP1 (with Premium Upgrade 1)
- Luminaire XP2
- Luminaire XP3
- Stellaire XJ1
- Stellaire XJ2
- Stellaire XE1
- Stellaire XE2
Compatible ScanNCut machines (Australia):
For an updated list on compatible machines please visit Brother's website.
How does it work?
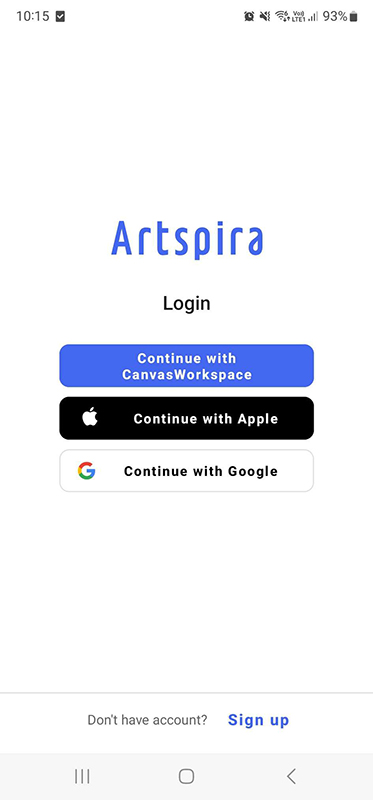
My Connection uses the Brother Artspira App to transfer your files between the machines. Although you don’t necessarily need the app on hand when transferring between the machines, the data itself is transferred via a temporary data pocket through the Artspira App and then retrieved from the other machine.This means you will need a CanvasWorkspace account and your machines will need to be registered. We’ll go through how to do this below.
How to link your embroidery machine to your cutting machine
Before you get started, make sure that both your cutting machine and embroidery machine's software are updated to the latest version and that your machines are compatible with the My Connection function.
Register your machines
Firstly, we need to make sure that both your ScanNCut and Embroidery machine is registered. You can do this either via CanvasWorkspace or via the Artspira App, both options will require you to have a CanvasWorkspace account. Find out how to register for CanvasWorkspace →
If you have already registered your ScanNCut to a CanvasWorkspace login, make sure that you are registering the embroidery machine to the same CanvasWorkspace login.
By registering the two machines we are allowing the Artspira App to send and receive data between the two machines.

Activate My Connection on your embroidery machine
Next we need to activate the My Connection feature on your embroidery machine. To do this you will need to get the My Connection Activation Card found in the box with your compatible Brother ScanNCut. This card will have a 16 digit code that will be used to register the connection to your embroidery machine. Please note that this activation code can only be used once. Once your ScanNCut has been registered to use My Connection with an embroidery machine, it cannot be linked to another machine at a later date.
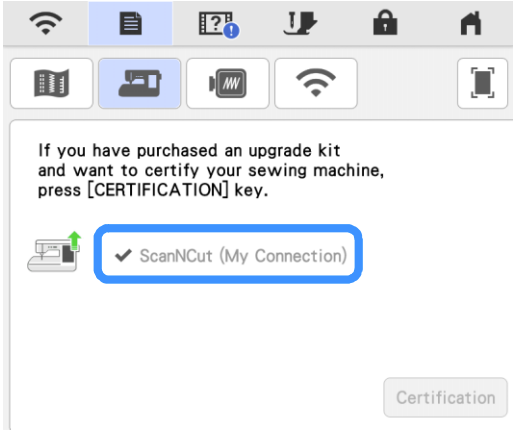
On your embroidery machine, navigate to Settings > Certification > Online Certification. Review the terms and conditions and select I Agree to accept. You will now need to type in the 16 digit activation code provided on the My Connection Activation Card and click OK.
You will receive an on screen message if the certification was successful or not. If the activation was unsuccessful, check that you have correctly entered the 16 digit code or ensure that you have not previously used this code to connect to another embroidery machine.
Once you have successfully activated My Connection on your embroidery machine, you need to reboot the machine. Do this by turning the machine off and back on again. When the machine is back on, you will need to once again navigate to Settings > Certification > Online Certification. Here you will see that the ScanNCut (My Connection) has a tick to the left and has been greyed out, this means that you have successfully registered your embroidery machine to your ScanNCut.

What functions are possible with My Connection?
Send files from your ScanNCut to your embroidery machine
Send built-in shapes and designs from your ScanNCut to your embroidery machine and turn them into embroidery using My Design Center.
Send an embroidery pattern from embroidery machine to cutting machine
You can send embroidery pattern shapes from your embroidery machine to your ScanNCut for cutting/drawing.
Plus, transform your embroidery files (built-in or imported) into applique files without needing to edit the stitch settings manually. Send the applique file to your ScanNCut and cut the perfect shape for your applique.
When you apply appliqué setting to part of an embroidery pattern, hidden stitches may be sewn on the appliqué material. Please check the embroidery stitching order before starting and rearrange it to the appropriate sequence if necessary. *The original colour order is recommended.
Take a look at Brother's video which shows you how to change the embroidery stitching order so jump stitches can be hidden under the fabric applique. Watch now →
Take your creations further with Artspira
Now with both your machines connected to the Artspira App, why not take advantage of the creative opportunities available? With Artspira, you can unleash your creativity and make unique cutting and embroidery designs that suit your style. You can also convert simple images into cutting patterns for ScanNCut DX machines, add text to personalise your designs, and much more. Explore the amazing features of Artspira and discover your full potential.
Just remember to login using your existing CanvasWorkspace account that was used to register your machines.


