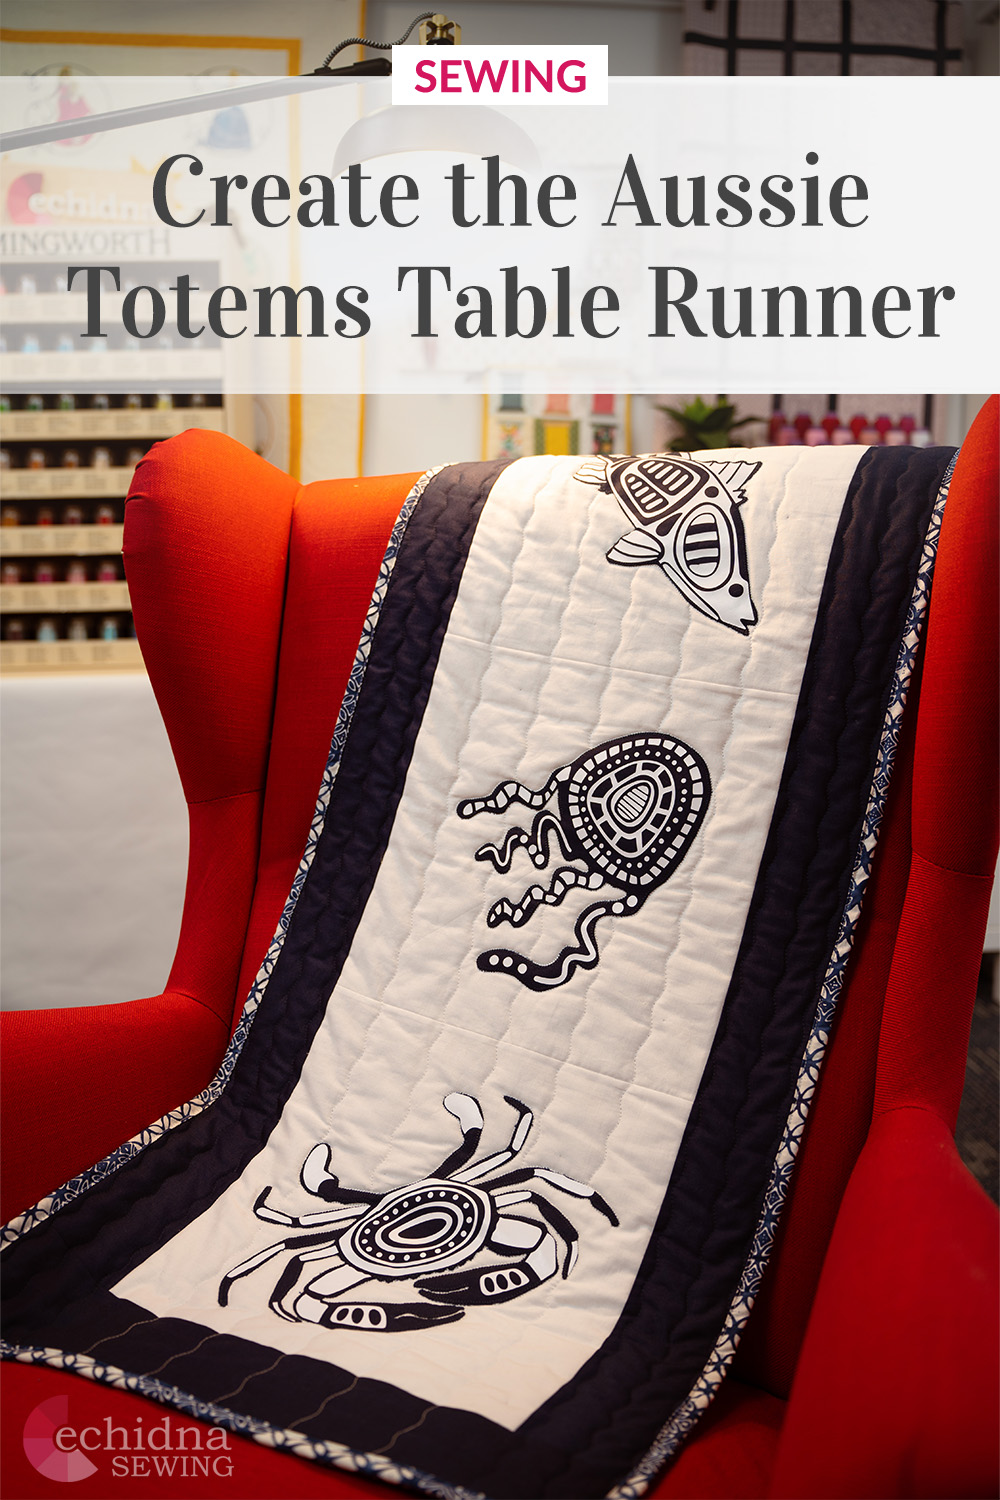
Aussie Totems Table Runner
Date Posted:15 May 2024

Discover a modern twist on a timeless craft with our latest project! In this tutorial, we'll guide you through creating a unique table runner adorned with Aussie Totem Sewing Appli-Vinyl by Little Butten.
This project seamlessly blends classic sewing techniques with the creative use of HTV, offering a fun and engaging crafting experience. Whether you're a seasoned crafter or new to sewing, this project provides a wonderful opportunity to explore new skills and add a personal touch to your home decor or gift-giving.
If you don't have a cutting machine, simply skip the step of adding HTV embellishments, and you'll still have a fantastic runner featuring the sewing silhouette applique designs.
What you'll need:
- Sewing Machine
- Cutting Machine (Brother ScanNCut, Cricut, etc)
- 0.5m of fabric for the panel background
- 1.5m of fabric for borders and backing
- 10” x width of fabric (WOF) of fabric for binding
- White heat transfer vinyl (HTV)
- Thread to match the borders and backing fabric
- Thread to match the panel background fabric
- Hot melt web
- Pellon
- Mini iron
- Wool pressing mat
- Pins
- Rotary cutter
- Cutting mat
- 24” x 6” quilting ruler
- 12.5” x 12.5” quilting ruler
- Walking foot
- Quilting guide
- Aussie Totem Sewing Appli-Vinyl Designs
Own an embroidery machine?
If you have an embroidery machine with a 240mm x 240mm (9½” x 9½”) and a 240mm x 360mm (9½” x 14”) Embroidery Hoop/Frame, try our in-the-hoop embroidery appli-vinyl version! View Aussie Totems Embroidery Appli-Vinyl →
Shop online:
Method:
- Cut 3 strips of 2.5” x WOF for binding, set aside.
- Cut 3 x squares from white fabric 13” x 13”, set aside.
- Print out the Aussie Totem Sewing Appli-Vinyl designs.
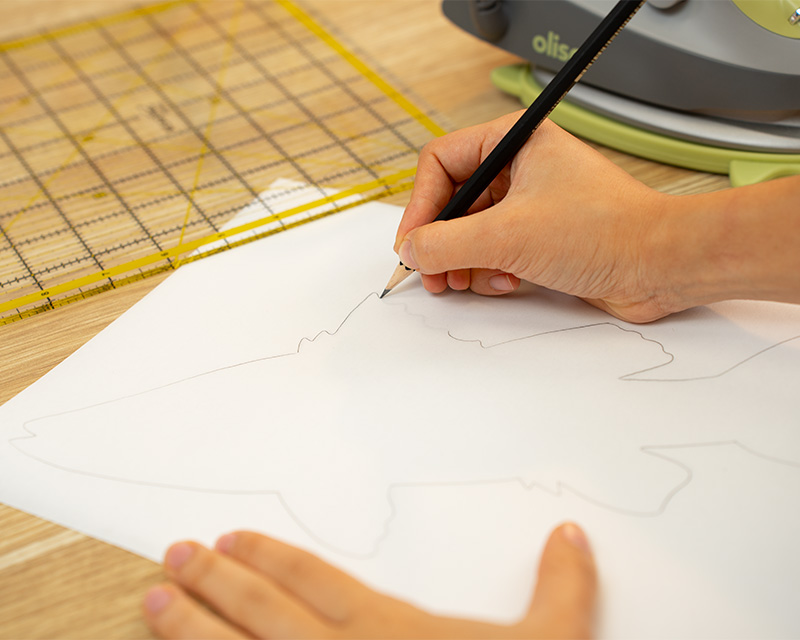
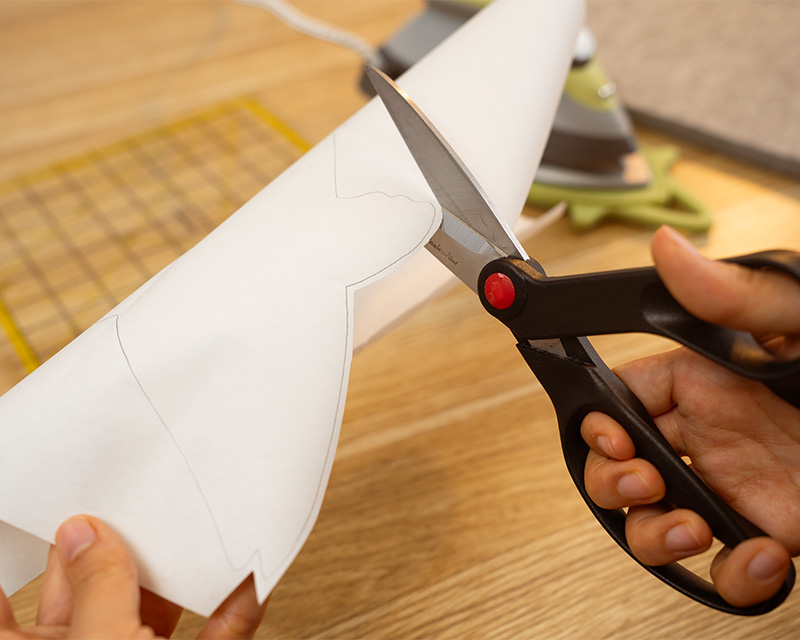
- Trace the sea totems onto the Hot Melt Web, cut around the outside ⅛” from the drawn edge. Iron onto the back of the navy fabric. Cut around each totem on the drawn line, remove background paper and press onto the centre of the previously cut white square.
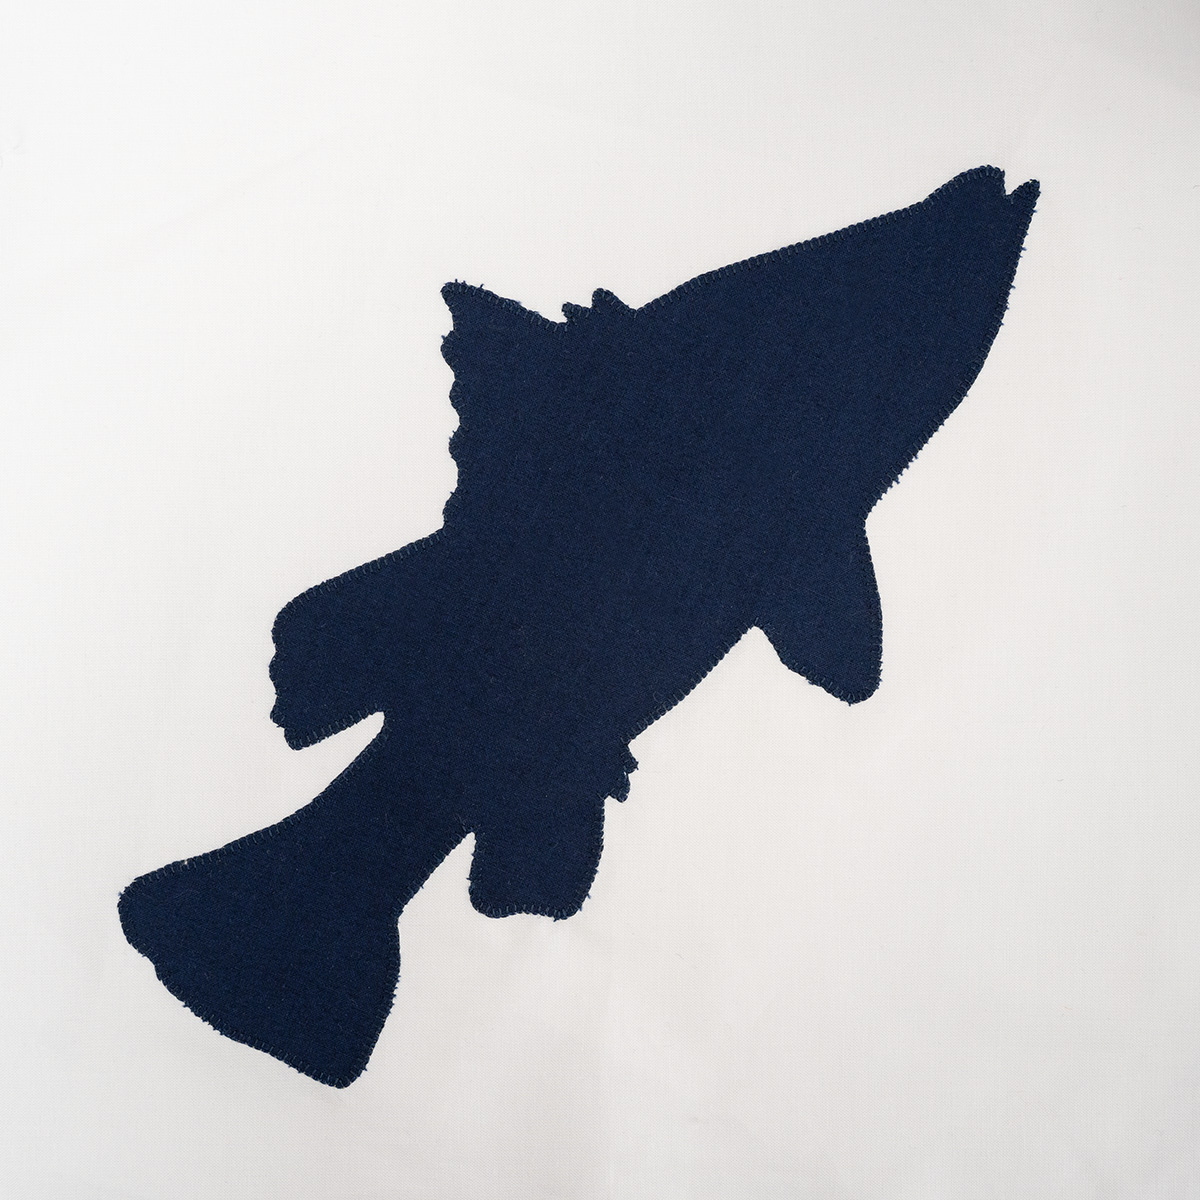
- Select your decorative stitch and sew around the outside of the totem silhouette.
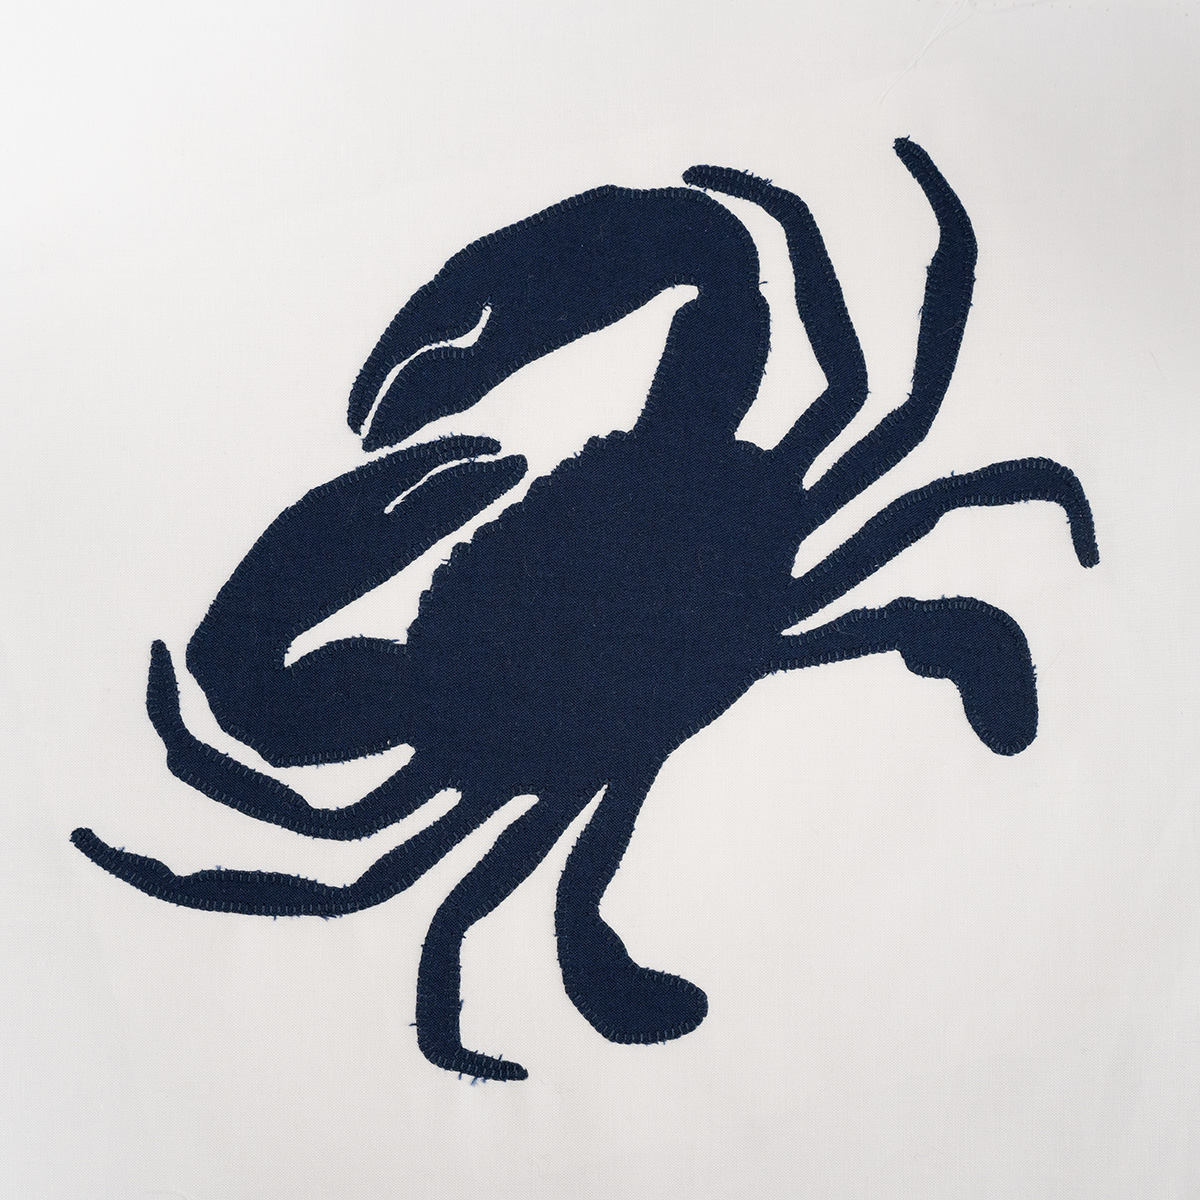
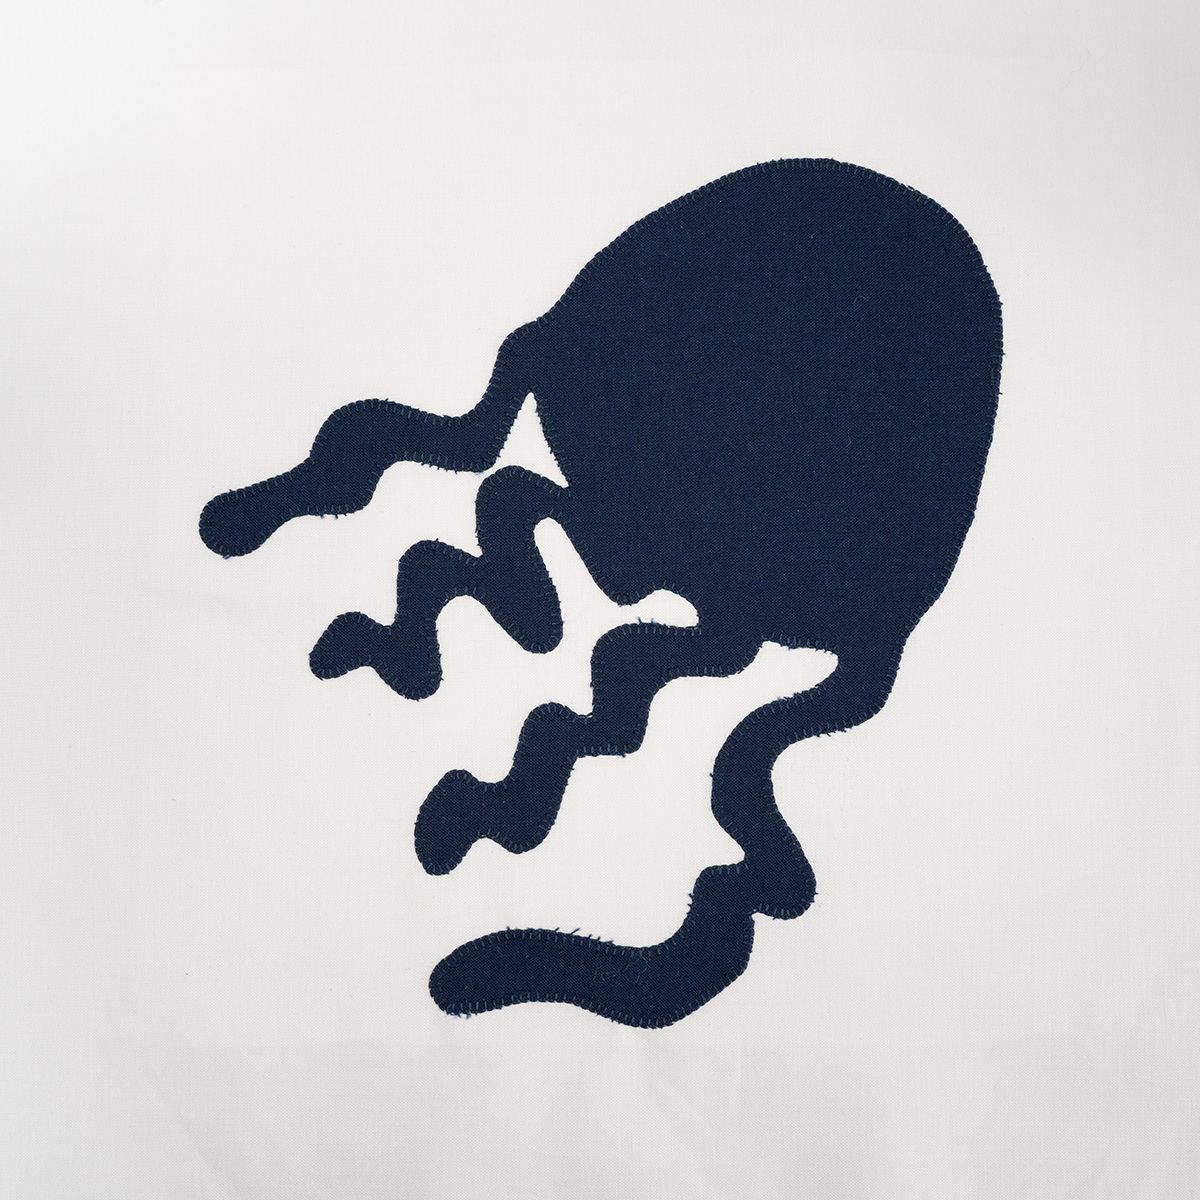
- Download the Aussie Totem Sewing Applique Embellishment SVG and cut from white HTV using your cutting machine. Weed, place and iron the HTV onto the previously stitched silhouette.
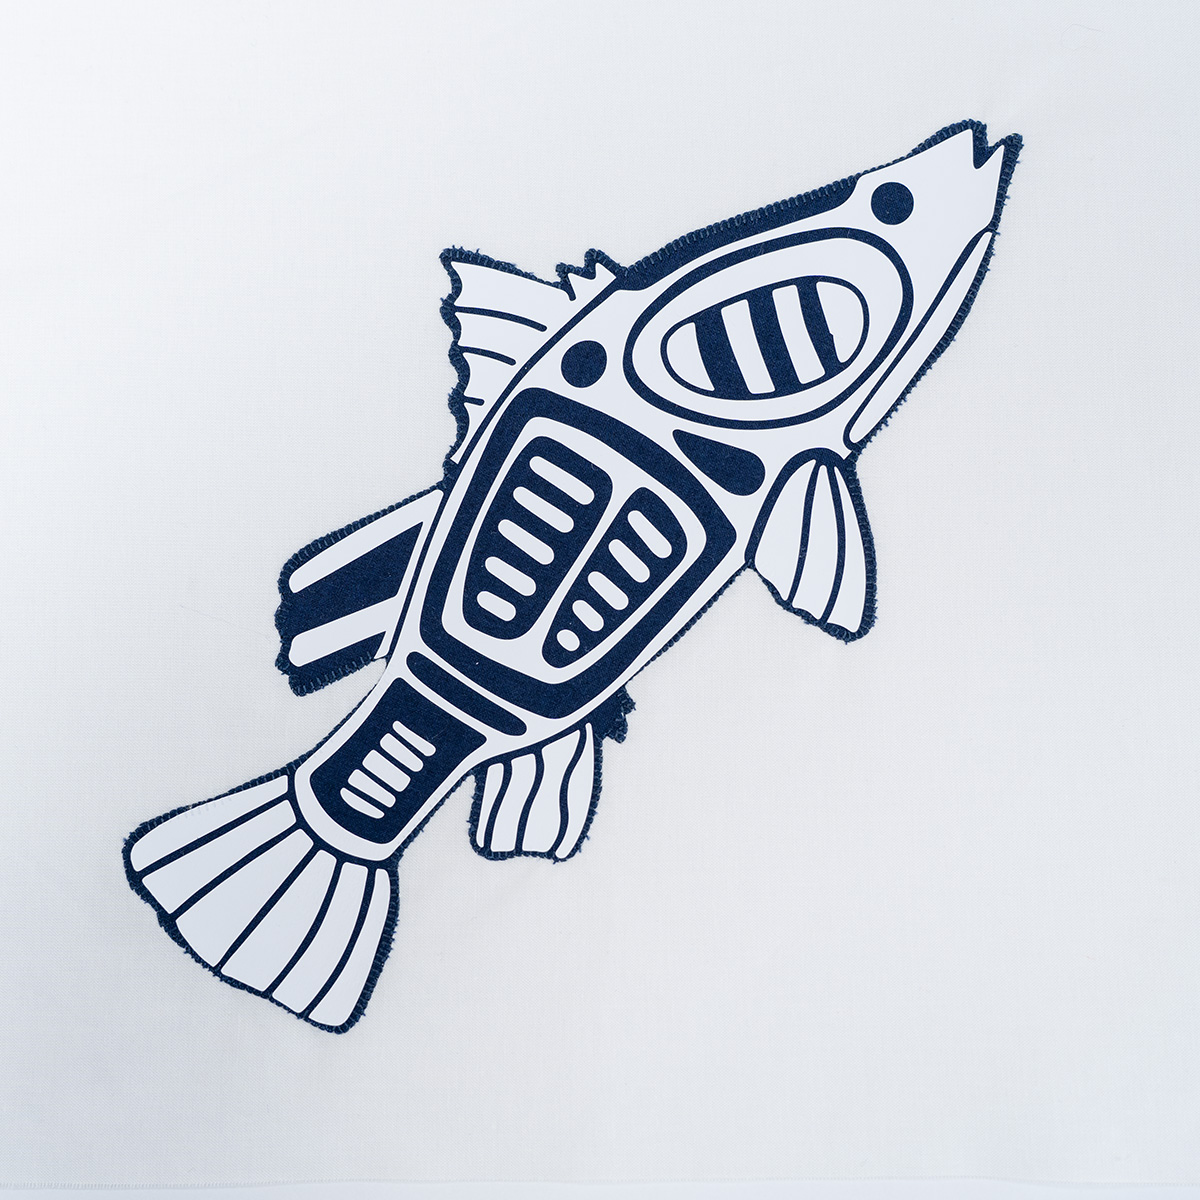
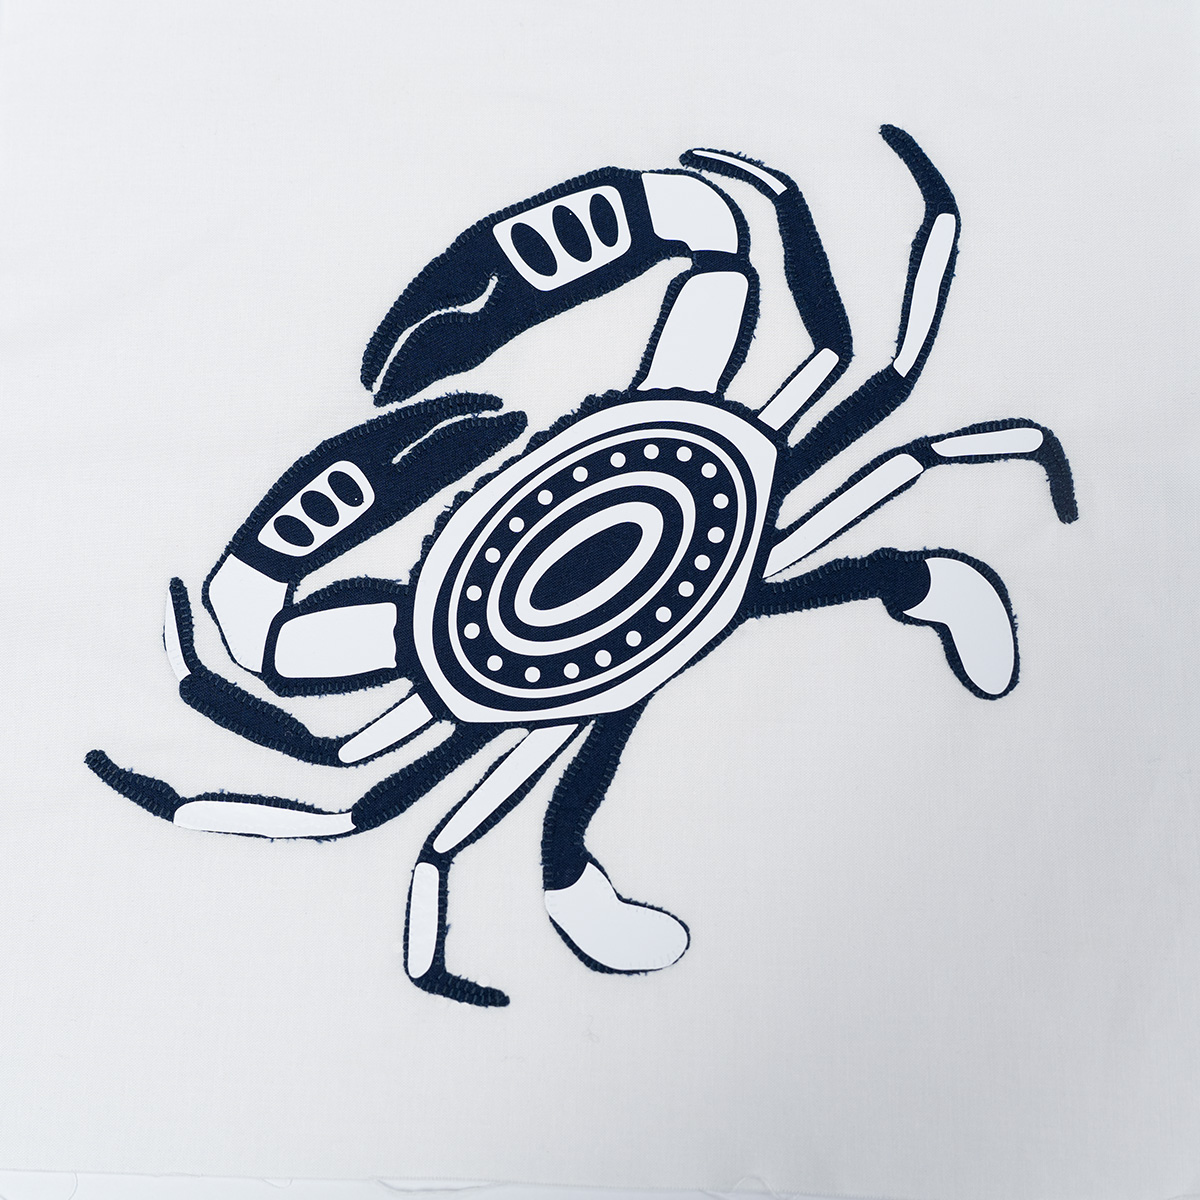

- Square up the three blocks using your 12.5” x 12.5” ruler, ensure the totem is in the middle of the fabric. Use a ¼” seam & sew the blocks together in a row.

- Cut three strips 3½” x width of fabric (WOF) from the borders and backing fabric and set one strip aside.
- Measure the length of the runner, and cut the other two strips to measure the same as the length of the runner.

- Mark the centre of each side of the runner and the two strips then pin the top and bottom strip in place. Using a ¼” seam attach both strips. Press the stitched seam towards the dark fabric.
- Measure the height of the runner, and from the remaining strip of border fabric cut two end pieces to match this measurement.

- Mark the centre of each end of the runner and the two strips then pin the end pieces in place. Using a ¼” seam attach both end pieces. Press the stitched seam towards the dark fabric.

- Press the entire runner from the BACK, ensuring the seams are flat, and the seams are pressed towards the darker fabric. Gently press the seams from the front of the runner using an applique mat to protect the HTV applique designs from the heat of the iron.
- Measure and cut the Pellon to size and with a warm iron adhere to the reverse side of the table runner.

- Measure and cut the remaining borders and backing fabric to create a backing for the table runner. Spray, pin or thread baste the backing fabric to the Pellon, we have used safety pins to hold the three layers together.

- Change the bobbin thread to match your backing fabric, and the top thread to match the background of the animal totems. Using your walking foot and a straight stitch, sew ⅛” of an inch around the outside of each totem.


- Once all three totems have been stitched, it is time to stitch the lines across the table runner. It is useful to create a small scrap quilt sandwich to test the quilting stitches prior to working on the runner. To do this, take offcuts of fabric and batting, and layer them together like you have done previously. Choose your selected stitch, we used a Serpentine stitch and adjusted it until the stitch looked like a wave. Test your stitches on the scrap quilt sandwich ensuring you are happy with the settings of the stitch adjustments just made.
- Next, mark through the centre of the table runner with a dotted line with your chosen fabric marker, then stitch along the dotted line.

- Attach a quilting guide to your walking foot and place on the previously stitched line, sew along the runner stopping and starting to allow for the applique. We have stitched the top and bottom blue border with navy thread to match the fabric, and the side borders are stitched from the edge with white thread.
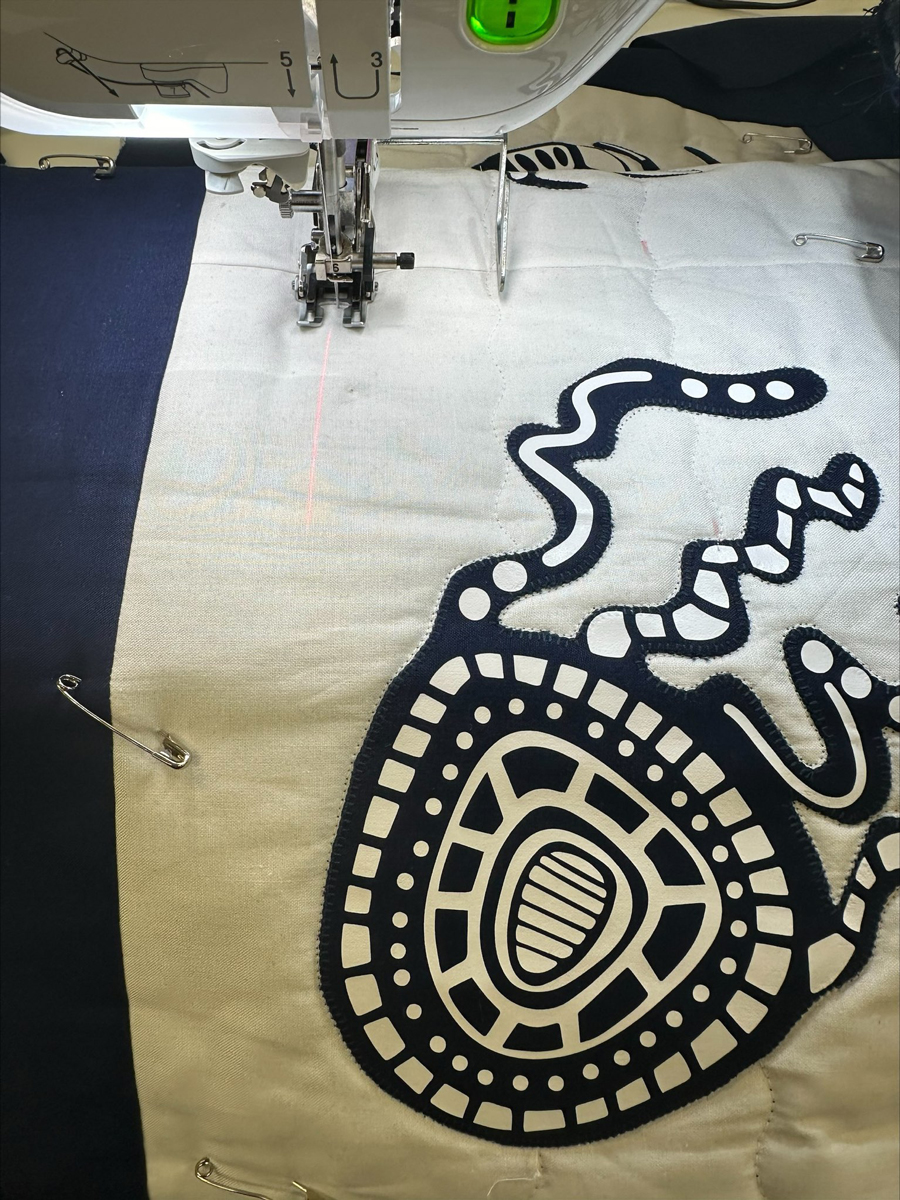
- Take the previously cut 2.5” binding strips and join together on the short ends using a ¼” seam, or on the bias, if preferred. Press with the wrong sides together along the length of the binding. Attach the binding strip to the outside of the runner, with the raw edges flush with the raw edges of the runner. Stitch in place, fold the binding over encasing the quilt layers and stitch in place by hand or machine.

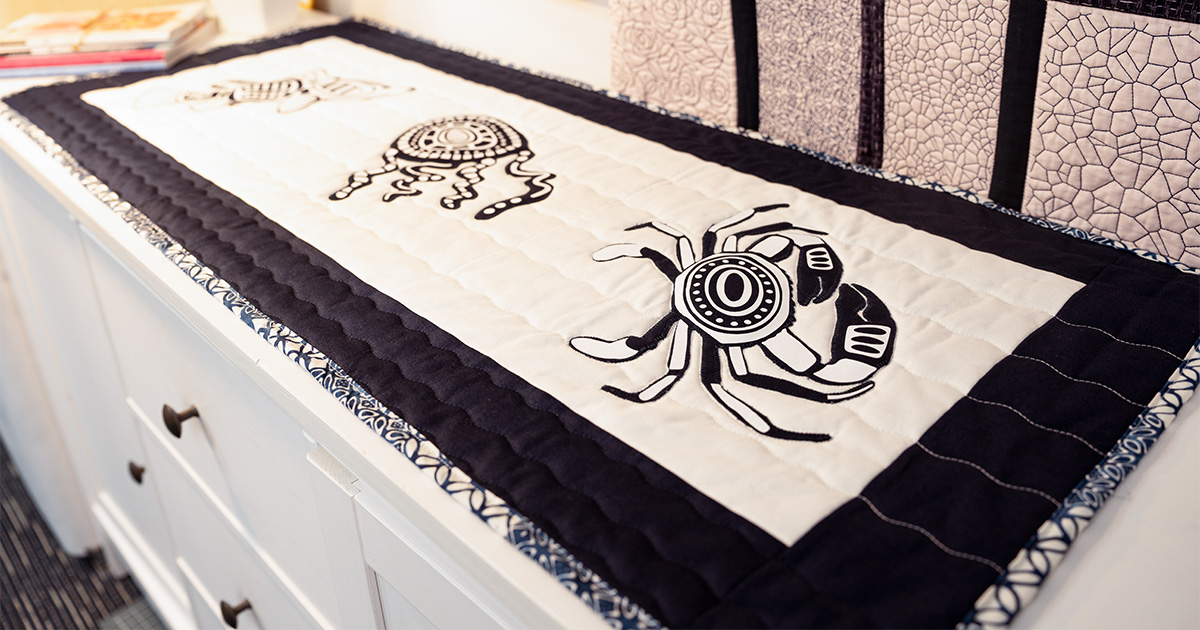
Don’t forget to show us your finished projects on Instagram or Facebook #echidnasewing #madebyme

Free Embroidery Designs
We're excited to offer our free Echidna designs available for download. These free designs are perfect for those at a beginner or an advanced level. Add these designs to your stash and create incredible embroidery!
View all free designs >

Sewing, Quilting and Embroidery Machines
Interested in learning how to sew, quilt or embroider? Take a look at the innovative Brother machines available for purchase at Echidna Sewing. Wherever possible we will beat any deal and you will always receive ongoing service and support!
Find out more >

Learn to Sew or Embroider with Echidna Sewing
Come along to our fun-filled classes to learn more about sewing, embroidery and crafting. Classes cater for all skill levels, whether you're just starting out or already have advanced knowledge.
Find out more >
Echidna project material/ fabric requirements are an indication only and can seem to be generous. This has been intentional. Should you make a cutting or embroidery mistake you will have sufficient fabric to rectify your error.


