All Projects
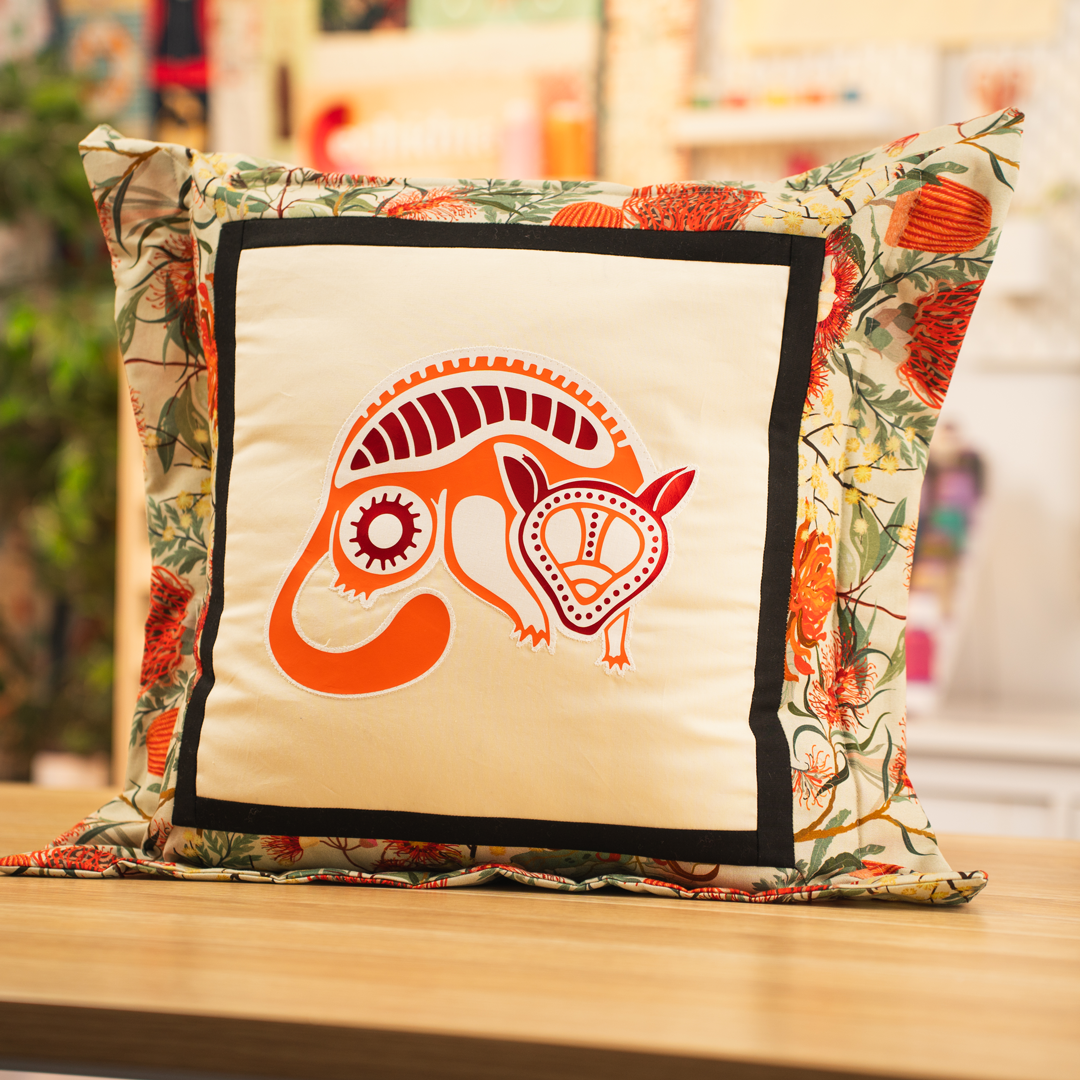

Possum Appli-Vinyl
In this project video tutorial, we’ll guide you through creating the stunning Possum Appli-Vinyl from the Aussie Totems Embroidery Appli-Vinyl Designs using an embroidery machine. We’ve also included step-by-step instructions on how to transform your design into a beautiful cushion.
Appli-Vinyl is an innovative technique that combines the precision of embroidery with the bold, textured appeal of vinyl. This method opens up a world of creative possibilities, allowing you to craft unique, multi-dimensional designs that showcase the beauty of both mediums. Whether you're a seasoned pro or just getting started, this technique is sure to add an exciting element to your crafting projects.
If you don’t have an embroidery machine, or if your hoop size isn’t large enough (requires a 240mm x 240mm or 9½" x 9½" embroidery frame/hoop), you can still participate by using the sewing version.
Please note, our video tutorial demonstrates how to create the HTV Possum design, and the instructions to create the cushion are provided below.
Materials & Supplies
The suggested materials are based on creating the possum. If you're making a different animal, please ensure you have enough materials to accommodate any variations.
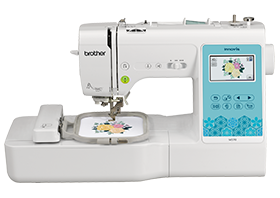
Machines Used
- Sewing & Embroidery Machine: Frame/Hoop Size: 240mm x 240mm (9½" x 9½")
- Cutting Machine (e.g Brother ScanNCut)
Fabric
- White Cotton Fabric: 10" x 10" (Possum Silhouette)
- Background Fabric: 16" x 16"
- Frame Fabric: 2 x strips cut 1¼" x WOF (sub-cut to 2 strips 1¼" x 12½" & 1¼" x 14")
- Border Fabric: 4 x strips cut 4½" x 27"
- Fabric Backing: 2 x pieces cut 14" x 23"
Heat Transfer Vinyl (HTV)
- HTV Orange: 10" x 10"
- HTV Red Metallic: 6" x 9"
General Supplies
- Hemingworth Embroidery Thread White
- Sewing Thread
- Wool Pressing Mat
- Heat Press or Mini Iron
- ScanNCut Low Tack Mat
- ScanNCut Fabric Mat
- ScanNCut Rotary Blade
- Rotary Cutter
- Self-Healing Cutting Mat
- Patchwork Ruler - 6" x 24" (long)
- Stable Stuff Poly Fabric Stabilizer: 20" x 10 yard roll (to fit the 9½" x 9½" hoop)
- 10" x 10" Fusible Webbing
- ¼" Piecing Foot
Design Files
- Aussie Totems Embroidery Appli-Vinyl (Includes HTV Embellishment Files)
- Aussie Totems Sewing Appli-Vinyl (Includes HTV Embellishment Files)
Download File Notes
Unzip the project files and save these files to a USB/jumpdrive.
Inside each download pack you will be provided with
- SVG files for electronic cutting of silhouette shapes
- SVG files for electronic cutting of HTV embellishments
- PDF placement guide for HTV embellishments
- Either the embroidery files (embroidery version) or silhouette applique PDF patterns (sewing version)
Cutting & Construction
The steps below are just an overview of the project instructions and must be used in conjunction with the tutorial video. Print these steps out to have beside you when watching the video as a reminder.
Cutting Machine
- Load the USB into the cutting machine.
- Select the Possum HTV Embellishment file.
- If using two colors, select and move parts of the embellishment to separate each color.
- With a brayer, press the HTV piece's shiny side down onto the low tack mat.
- Follow the normal cutting process for your machine. NOTE: When using HTV, we recommend a test cut to check settings, eg. Half Cut: ON.
- Weed and set aside.
Machine Embroidery Applique
- Hoop the Stable Stuff Poly Stabilizer & background fabric in the embroidery hoop.
- Load PossumEmbroideryApplique file onto the machine (be sure to choose the format accepted by your machine)
- Check if you need to “flip" the image to match the previously cut embellishment file.
- Stitch the embroidery placement outline.
- Place your chosen silhouette fabric onto the background fabric so it covers the placement line. Tape in place.
- Stitch the tack down stitch.
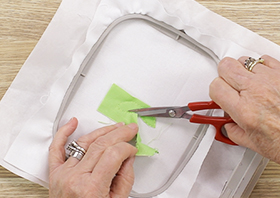
- Remove the hoop and trim around the shape.
- Once trimmed, stitch the decorative silhouette outline.
HTV Embellishment
- Remove the fabric from the hoop & turn on the heat press or mini-iron.
- Take the previously weeded HTV embellishments and layer them, then press onto the fabric silhouette.
- Use your HTV product guidelines for pressing time with a press or iron. Refer to the silhouette printout for accurate placement.
Cushion Construction
- Square up the Appli-Vinyl Silhouette block to 12½" x 12½".
- Stitch frame pieces (1¼" x 12½") to each side of the block, and press.
- Repeat the process using the two remaining frame pieces (1¼" x 14") for the top and bottom of the block, and press.
- Measure each side of the block and cut two side pieces to your measurement.
- Stitch to each side of the block, and press.
- Measure through the center of the cushion and cut two pieces for the top and bottom of the cushion.
- Stitch to the top and bottom of the cushion, press, and set aside.
- Prepare the two back pieces for an envelope-style closure folding the fabric ¼" to the back along the long edge, and press. Turn another ¼", press, pin, and topstitch. Repeat these steps for each back piece.
- Measure the cushion and cut the two backing pieces to this size, eg. 14" x 22".
- Place the cushion top right side up, and place the two back pieces right side down over the top of the cushion, aligning raw edges and overlapping the hemmed edges. Pin in place.
- Sew around the outside of the pillow with a ¼" seam allowance.
- Clip the corners to reduce bulk.
- Turn the cushion to the right side, poke out each corner with a blunt tip to square, and press. Always press the cushion from the back, and don’t place an iron directly onto the Heat Transfer Vinyl.
- We have created a flange on the border of the cushion by measuring and sewing through the cushion, including the back. Measure 1½" from the outer edge and mark with pins or tailor's chalk. Stitch along this line to create the flange.
- Cushion complete!
Products used:


Free Embroidery Designs
We're excited to offer our free Echidna designs available for download. These free designs are perfect for those at a beginner or an advanced level. Add these designs to your stash and create incredible embroidery!
View all free designs >
Sewing, Quilting and Embroidery Machines
Interested in learning how to sew, quilt or embroider? Take a look at the innovative Brother machines available for purchase at Echidna Sewing. Wherever possible we will beat any deal and you will always receive ongoing service and support!
Find out more >
Learn to Sew or Embroider with Echidna Sewing
Come along to our fun-filled classes to learn more about sewing, embroidery and crafting. Classes cater for all skill levels, whether you're just starting out or already have advanced knowledge.
Find out more >
Echidna project material/ fabric requirements are an indication only and can seem to be generous. This has been intentional. Should you make a cutting or embroidery mistake you will have sufficient fabric to rectify your error.