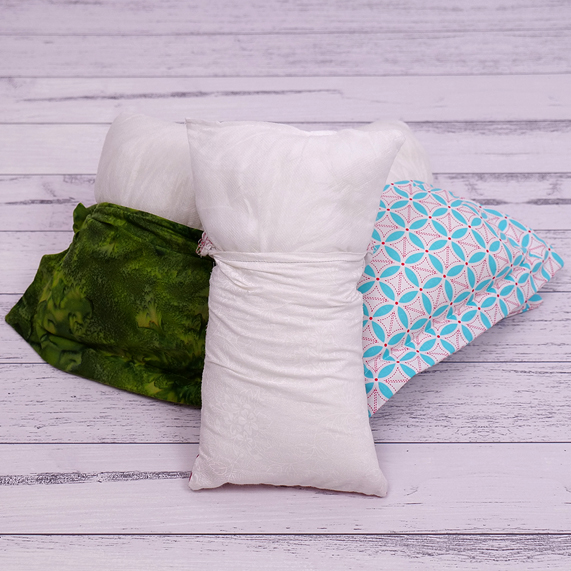
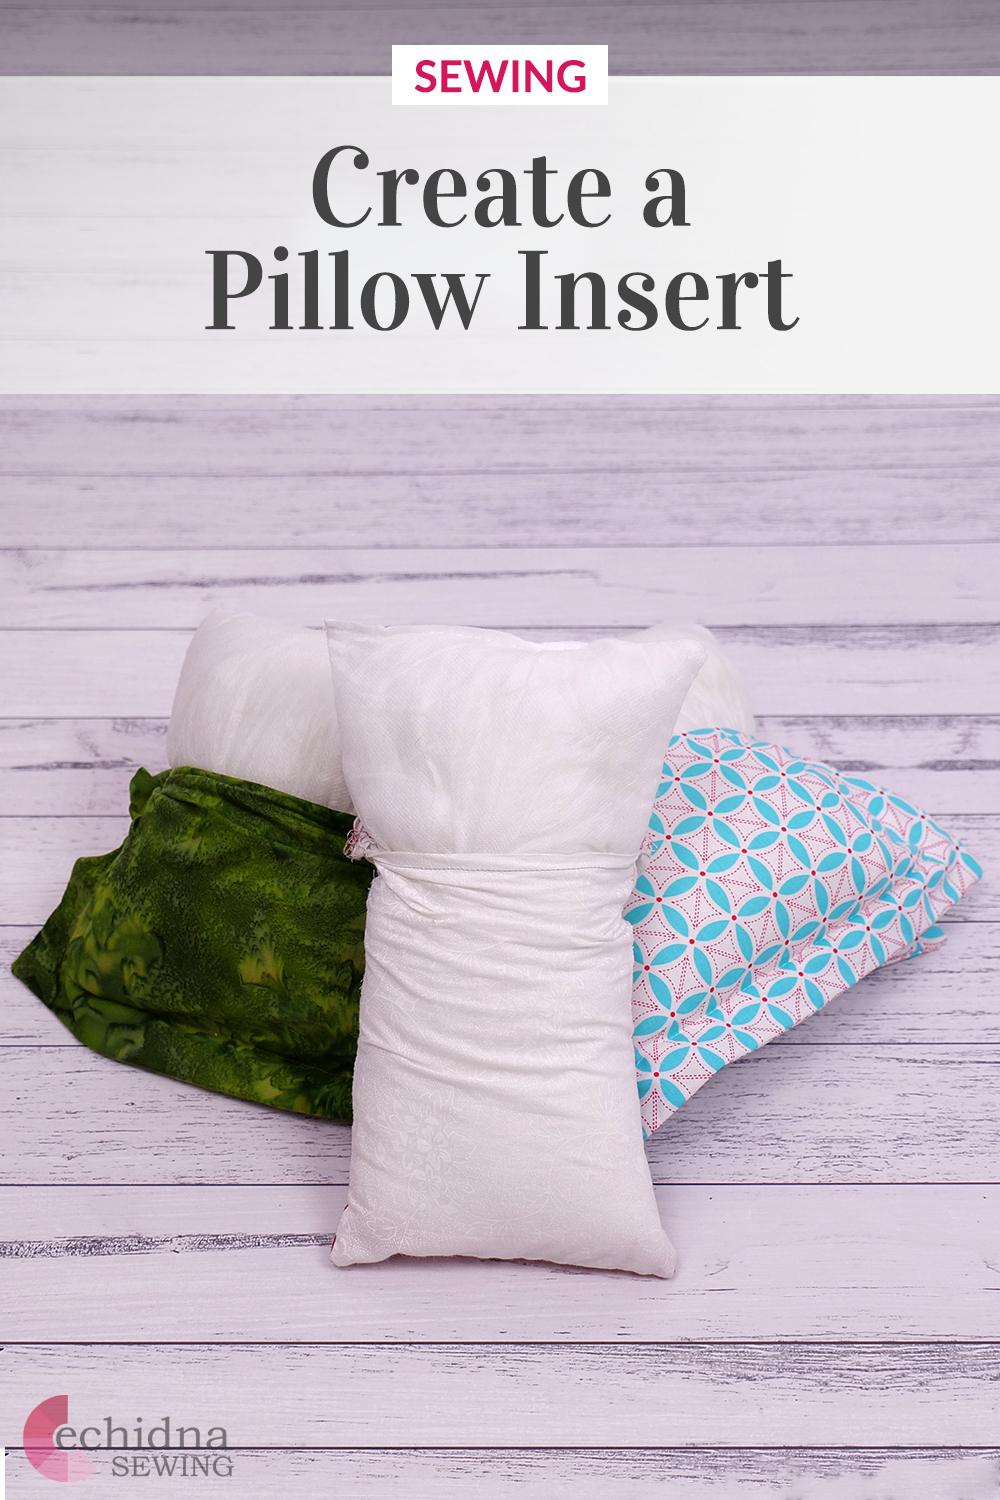
Pillow Insert
Learn how to create your own pillow insert, or sometimes referred to as pillow form. If you’ve created your own unique pillow/cushion covers or have purchased some which don’t include the insert, follow this tutorial and easily make your own!
This project is simple, easy and great for any level of sewing enthusiast, from beginner to advanced.
Machines Used
- Brother NV50S Sewing Machine
What you'll need:
- Sewing machine
- ¼” foot
- 80/12 Universal needles
- Applique scissors
- Rotary cutter and cutting mat
- Purple thang
- Rasant thread to match your fabric
- Hand stitching needle
- Small clips

Fabric: You will need enough fabric for an inner for the size of your cushion cover. Example: If you have a 10 ½” x 6 ¾” cushion cover, you should need roughly 9 ½” x 5 ¾” of fabric for your inner cushion. Don't forget, to create a more plump cushion you will need to add 1-2" of extra fabric onto the cut size.
Step Overview
The steps below are just an overview of the project instructions and must be used in conjunction with the tutorial video. Print these steps out to have beside you when watching the video as a reminder.
- Measure the cushion. Add 1” to 2” to the cushion measurement to create a plump insert.
- Cut two pieces of fabric to this size.
- Stitch around the cushion fabric leaving a 3” gap for stuffing.
- Trim the corners on the diagonal.
- Flip the cushion to the right side out and poke the corners out with the Purple Thang.
- Stuff the cushion until plump.
- Slip stitch or machine stitch the stuffing gap closed.
- Push the inner into the cushion cover.
- Done!
Popular Insert Sizes
|
Centimeters
|
Inches
|
||
|---|---|---|---|
|
Size
|
Fabric Needed
|
Size
|
Fabric Needed
|
| Square | |||
| 20cm x 20cm | 25cm x 25cm | 8" x 8" | 10" x 10" |
| 40cm x 40cm | 45cm x 45cm | 16" x 16" | 18" x 18" |
| 45cm x 45cm | 50cm x 50cm | 18" x 18" | 20" x 20" |
| 50cm x 50cm | 55cm x 55cm | 20" x 20" | 22" x 22" |
| 55cm x 55cm | 60cm x 60cm | 22" x 22" | 24" x 24" |
| 60cm x 60cm | 65cm x 65cm | 24" x 24" | 26" x 26" |
| 66cm x 66cm | 70cm x 70cm | 26" x 26" | 28" x 28" |
| 70cm x 70xm | 75cm x 75cm | 28" x 28" | 30" x 30" |
| Rectangle | |||
| 25cm x 50xm | 30cm x 55cm | 10" x 20" | 12" x 22" |
| 30cm x 50cm | 35cm x 55cm | 12" x 20" | 14" x 22" |
| 35cm x 50cm | 40cm x 55cm | 14” x 20” | 16” x 22” |
| 35cm x 60cm | 40cm x 65cm | 14” x 24” | 16” x 26” |
| 51cm x 66cm | 55cm x 71cm | 20” x 26” | 22” x 28” |
| 51cm x 76cm | 55cm x 81cm | 20” x 30” | 22” x 32” |
| 51cm x 92cm | 55cm x 97cm | 20” x 36” | 22” x 38” |
| 51cm x 137cm | 55cm x 142cm | 20” x 54” | 22” x 56” |
|
Centimeters
|
Inches
|
||
|---|---|---|---|
|
Size
|
Fabric Needed
|
Size
|
Fabric Needed
|
| 14cm x 24cm | 19cm x 29cm | 5.5” x 9.5” | 7.5” x 11.5” |
| 20cm x 20cm | 25cm x 25cm | 8” x 8” | 10” x 10” |
| 30.5cm x 45cm | 35.5cm x 50cm | 14” x 18” | 16” x 20” |
| 40cm x 96.5 | 45cm x 101.5cm | 16” x 38” | 18” x 40” |
| 45cm x 45cm | 50cm x 50cm | 18” x 18” | 20” x 20” |


Free Embroidery Designs
We're excited to offer our free Echidna designs available for download. These free designs are perfect for those at a beginner or an advanced level. Add these designs to your stash and create incredible embroidery!
View all free designs >

Sewing, Quilting and Embroidery Machines
Interested in learning how to sew, quilt or embroider? Take a look at the innovative Brother machines available for purchase at Echidna Sewing. Wherever possible we will beat any deal and you will always receive ongoing service and support!
Find out more >

Learn to Sew or Embroider with Echidna Sewing
Come along to our fun-filled classes to learn more about sewing, embroidery and crafting. Classes cater for all skill levels, whether you're just starting out or already have advanced knowledge.
Find out more >
Echidna project material/ fabric requirements are an indication only and can seem to be generous. This has been intentional. Should you make a cutting or embroidery mistake you will have sufficient fabric to rectify your error.


